在网上看到某人在出售这个教程,额我也写一个 不卖钱
很简单,主要就是cf解析上面的waf添加几个自定义规则
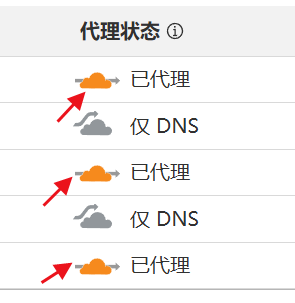
开启前,一定要在cf解析上面启用cf的代理程序才能生效
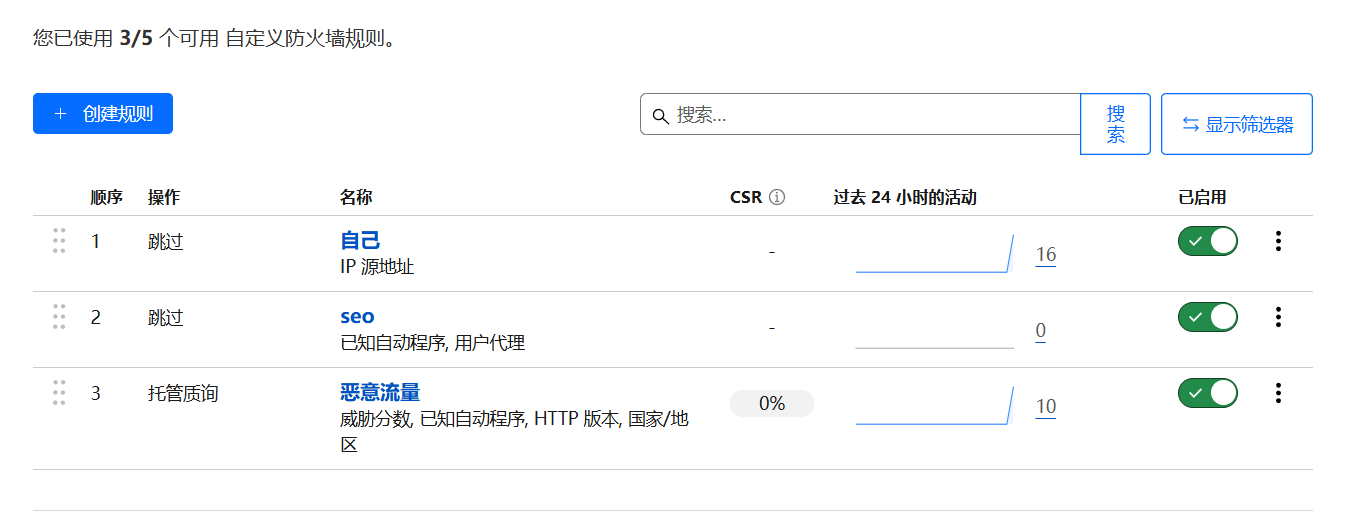
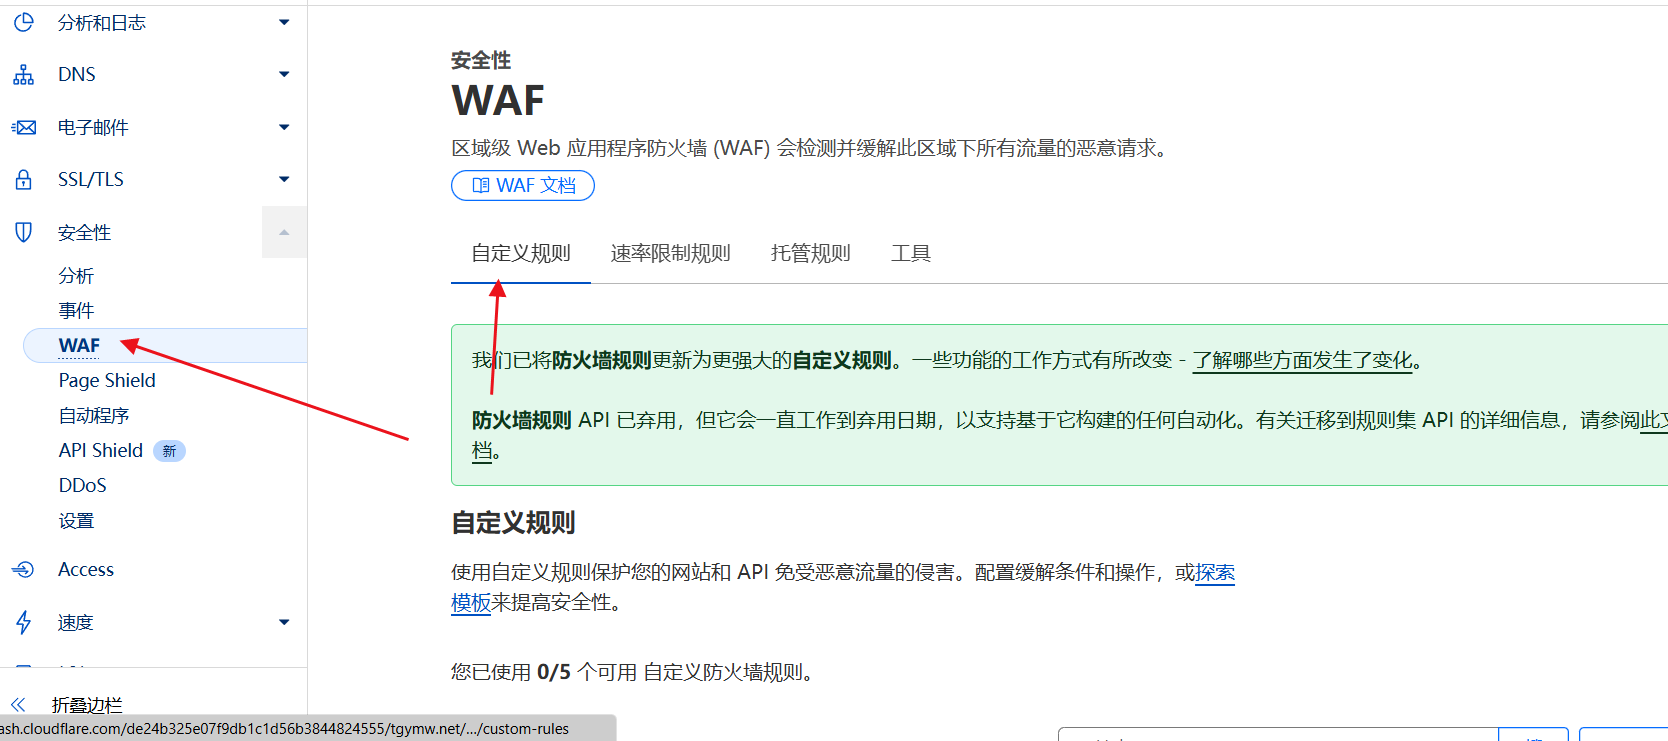
首先点击安全性进入waf页面
然后点击创建规则
开始配置,第一个 跳过自己
规则名称填写自己或者其他反正自己知道这个规则用来做什么的就行
字段那些不用管,直接编辑正则表达式
(not ip.src == 你的ip) 这个是没有ipv6的情况下使用
(ip.src == 你的ip or ip.src == 你的ipv6地址) 这个是有ipv6的情况使用
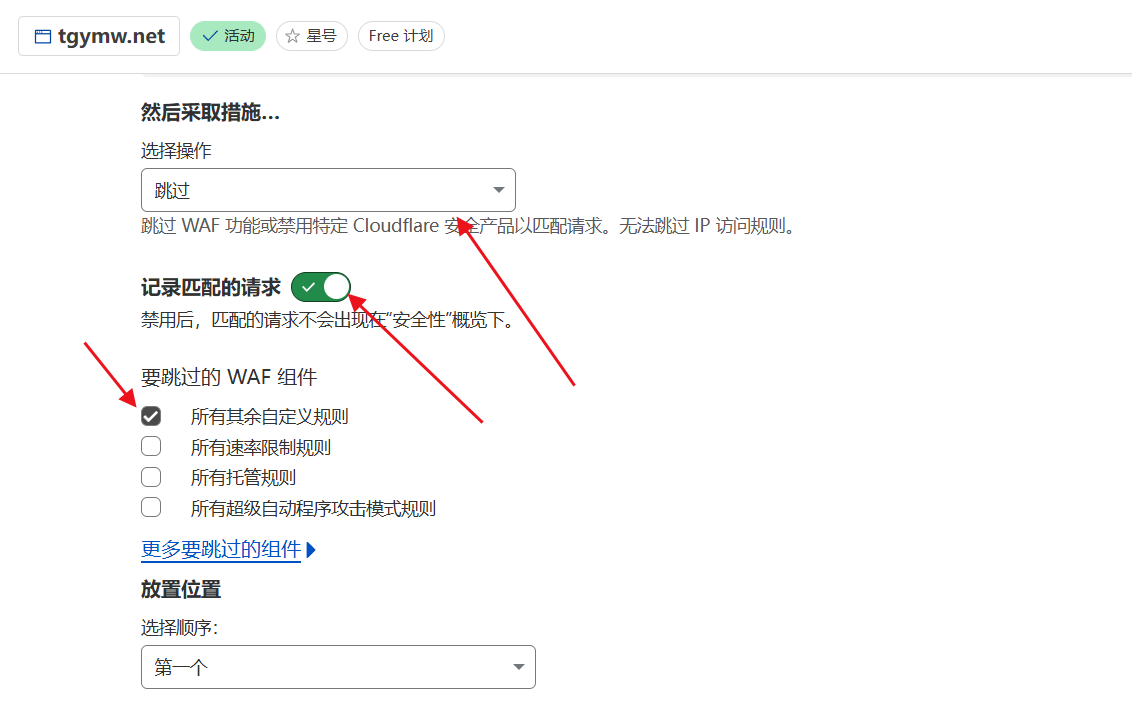
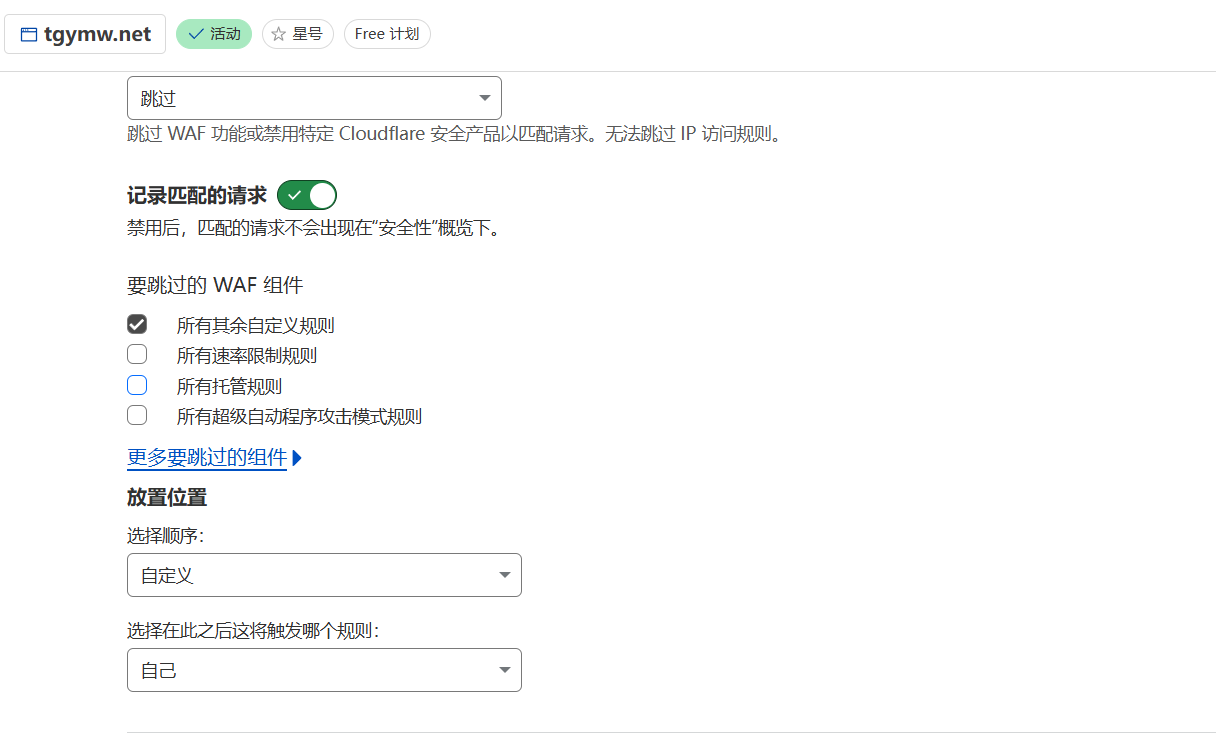
然后按照下图勾选保存即可
然后第二个跳过蜘蛛,设置和上面一样,只是正则表达式的规则有所改变 其他是一样的
(cf.client.bot) or (http.user_agent contains “duckduckgo”) or (http.user_agent contains “facebookexternalhit”) or (http.user_agent contains “Feedfetcher-Google”) or (http.user_agent contains “LinkedInBot”) or (http.user_agent contains “Mediapartners-Google”) or (http.user_agent contains “msnbot”) or (http.user_agent contains “Slackbot”) or (http.user_agent contains “TwitterBot”) or (http.user_agent contains “ia_archive”) or (http.user_agent contains “yahoo”)
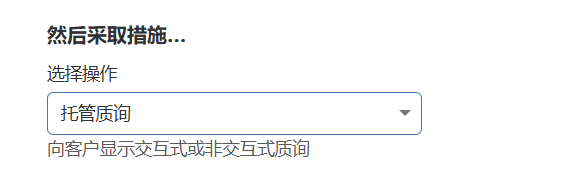
第三个拦截恶意流量 勾选按照下图勾选保存即可
这是正则表达式
(cf.threat_score ge 5 and not cf.client.bot) or (not http.request.version in {“HTTP/2” “HTTP/3”}) or (not ip.geoip.country in {“AU” “CA” “FR” “DE” “HK” “IR” “JP” “KR” “MY” “SG” “TW” “GB” “US” “CN”})
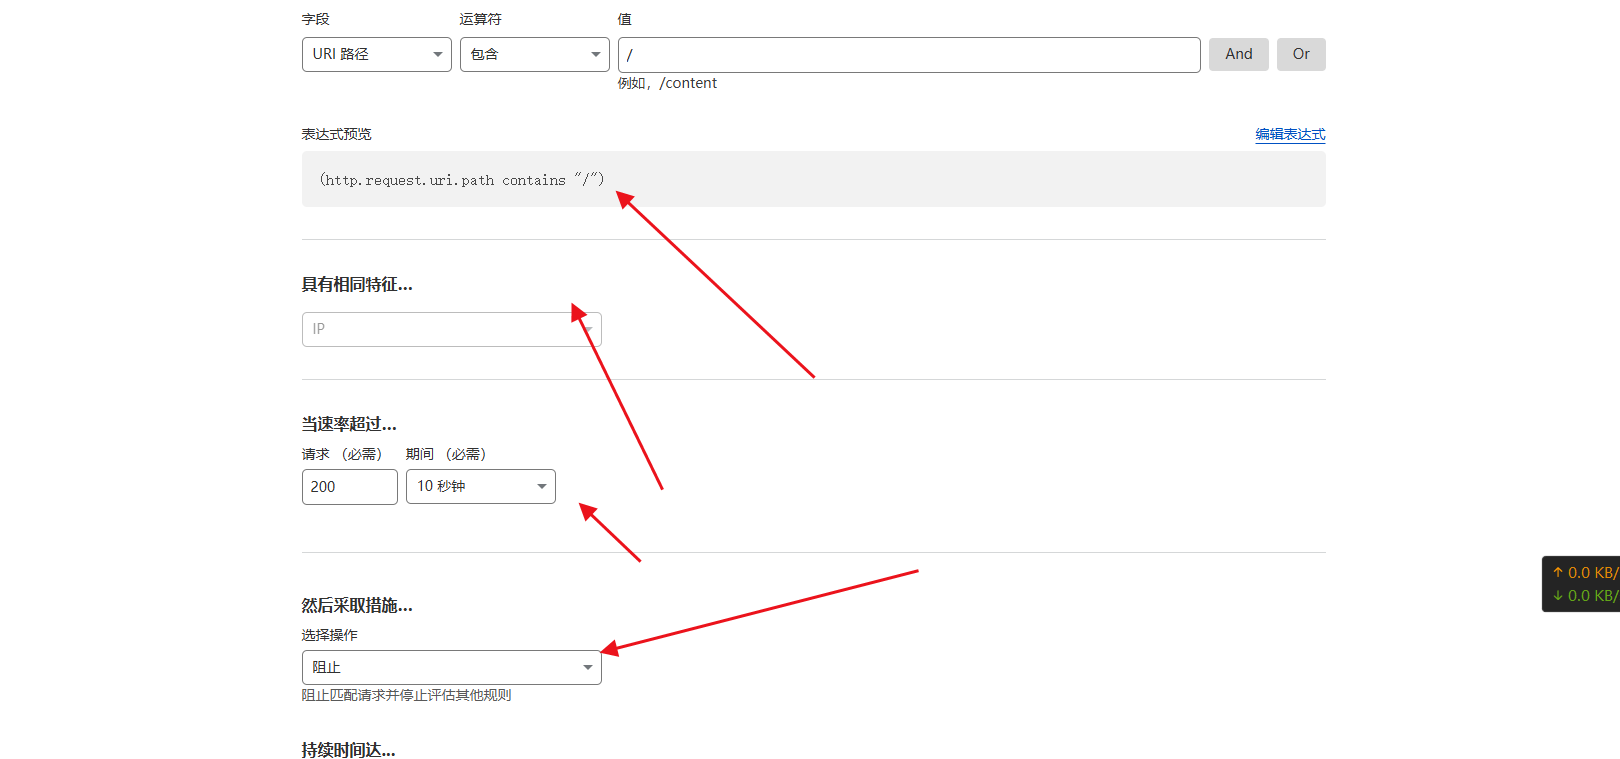
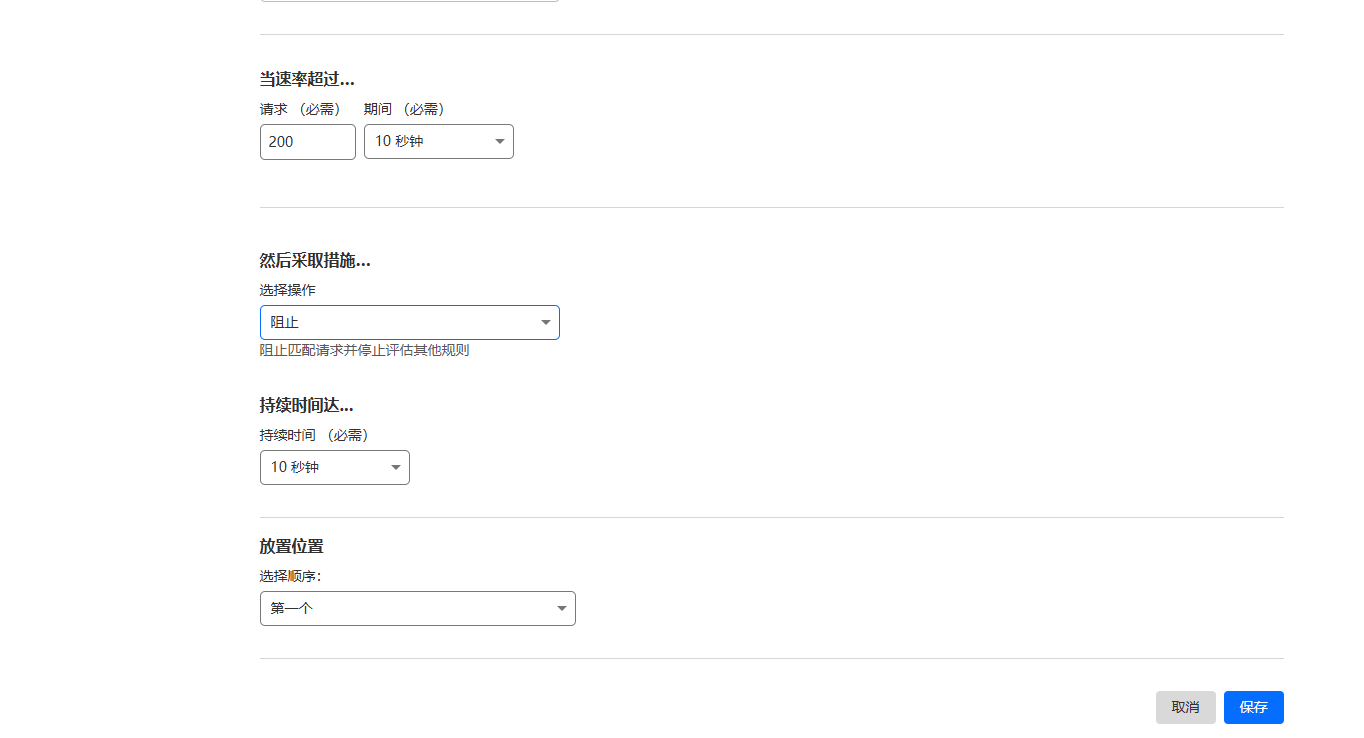
然后接下来配置速率限制
正则规则:(http.request.uri.path contains “/”)


